This article contains affiliate links: if you buy through them we may earn a commission, at no extra cost to you. Read our affiliate disclosure.
You notice it on the second morning of the long weekend: the slide that was drum-tight yesterday now sags in the middle, and the first rider sinks into it halfway down. Nobody wants to lose the slide for the rest of the trip. The good news is that most boat slide repair jobs are small: a valve that isn’t quite closed, a pinhole you can find with soapy water, a patch that takes an hour to set. This guide walks through the repair steps slide makers publish, from finding an inflatable slide leak to patching it and knowing when to call the maker.
In short: first check that every valve is fully closed, then inflate the slide and spray it with soapy water: bubbles show the leak. Deflate, clean and dry the spot, and apply a patch cut ½ to 1 in wider than the hole (RAVE) or glue on a patch in thin coats and let it cure 24 hours (Lakesurf). Self-adhesive vinyl patches are a quick fix; glued PVC patches are the permanent one. Leave seam failures and large tears to the maker.
Step 1: is it really a leak?
Not every soft slide has a hole. RAVE’s troubleshooting list starts with the valves: if the chambers won’t hold air, check that all valves are completely closed. Temperature matters too. RAVE notes that pressure inside the tube rises and falls with air and water temperature, so a slide pumped up in the afternoon sun can feel soft on a cool morning. Lakesurf says its slide will very gradually lose air when left inflated for long periods, which it calls normal.
Valves can also leak on their own. Lakesurf explains that debris lodged on the valve’s sealing surface can let air out, and that a few quick bursts of air from pressing the valve stem usually clears it. Paddle North suggests checking with the valve wrench, about once a year, that the fill valve and pressure-relief valve are tight, and warns never to unscrew the valve completely.
Step 2: find the inflatable slide leak
Both RAVE and Lakesurf use the same test. Inflate the slide, spray it with a soap and water solution and watch for bubbles: they grow where air escapes. A yacht-crew trade magazine’s patching guide adds a useful tip: spray the inflation and pressure-relief valves too, not just the fabric.
Step 3: patch it, the way makers describe
There are two methods, and makers publish both.
Self-adhesive patch (RAVE’s method)
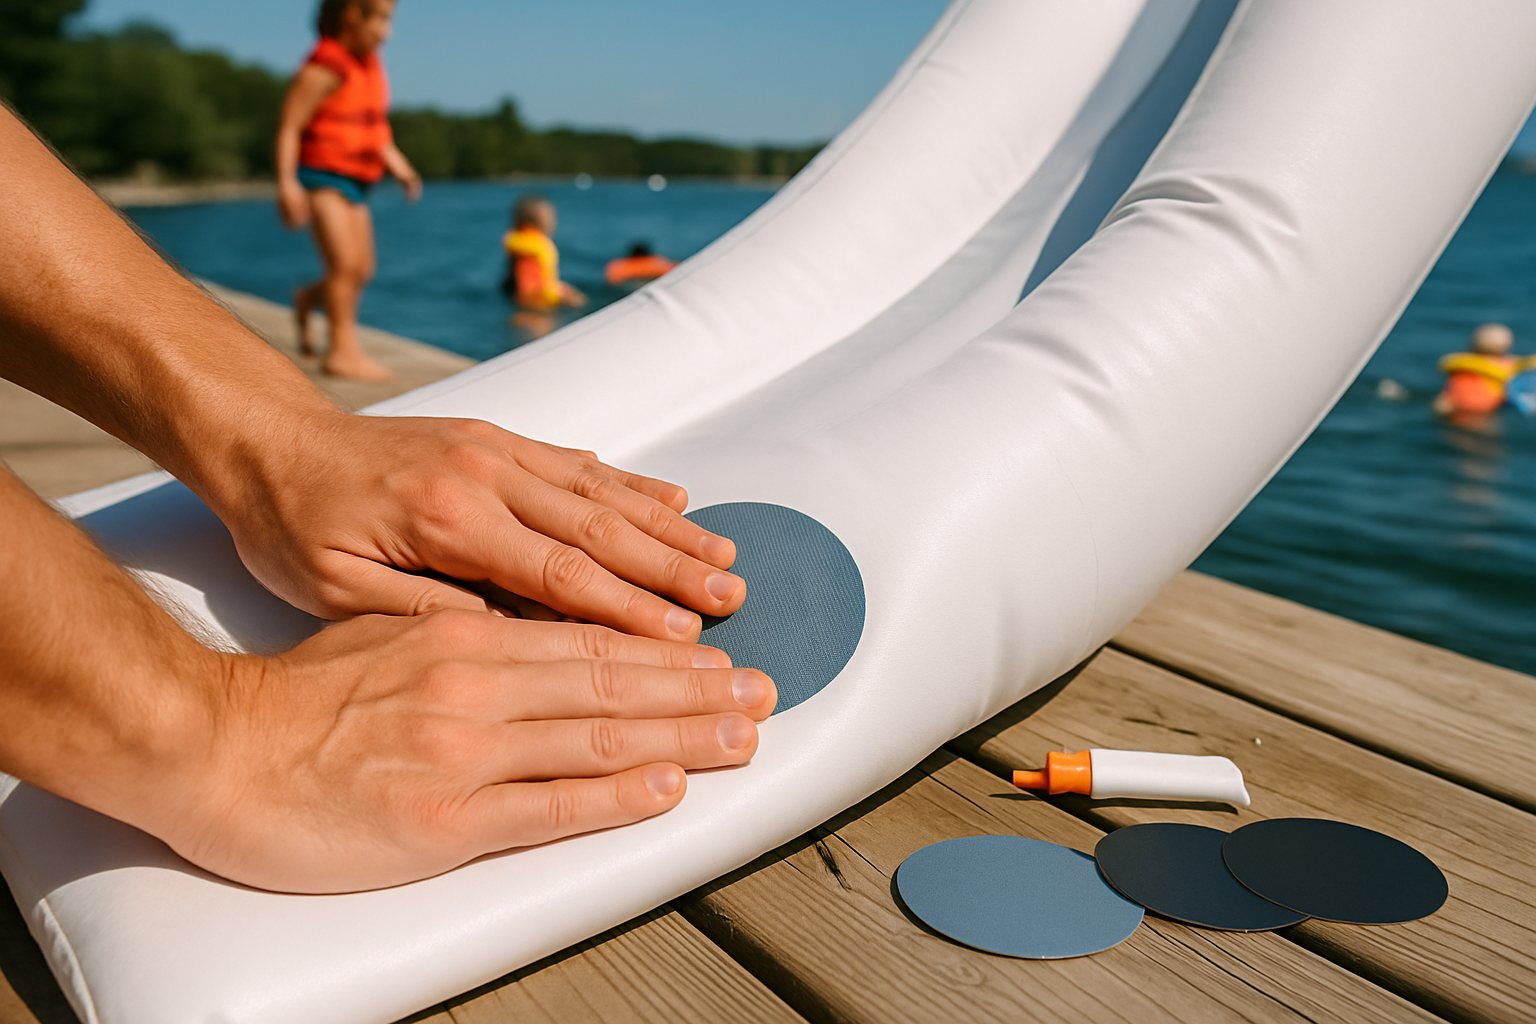
- Size the hole and cut a round patch ½ to 1 in wider than it.
- Let all the air out and dry the area completely.
- Peel the backing, apply the patch and work out any air bubbles from underneath.
- Put a weight on the patch for one hour before you inflate again.
Glued patch (Lakesurf’s method)
- Deflate the slide; clean and completely dry the area around the leak.
- Brush a thin layer of glue on the slide (an area slightly larger than the patch) and on the patch. Let it dry 20 minutes.
- Apply a second coat to both; let it dry another 20 minutes.
- Apply a third coat and let it dry 3 to 5 minutes (3 is best). Bond when tacky; if it’s gone past that, re-activate with another coat.
- Line up the patch, press it down and roll every millimeter, working from the center out.
- Let it cure a full 24 hours before rolling up or inflating.
Lakesurf’s kit doesn’t include glue because of shipping restrictions; it sends a tube free on request. RAVE notes that its adhesives can only ship by ground, so order before you need them. The yacht-crew guide we read uses solvent (MEK or acetone) to clean the area, with goggles and gloves, never applies a patch to a wet surface, and also lets the patch cure 24 hours if possible. Whatever you use, follow the instructions on your own kit.
Quick fix or permanent repair?
| Self-adhesive vinyl patch | Glued PVC patch | |
|---|---|---|
| Example | Tear-Aid Type B (for vinyl) | RAVE Standard or DIY Repair Kit; the kit in your slide’s box |
| Time before use | One hour under weight (RAVE’s patch method) | 24-hour cure (Lakesurf) |
| How makers describe it | RAVE calls a Tear-Aid patch a quick fix until you can make a more permanent repair | RAVE calls its glue kits for “permanent repairs of small holes and tears” |
| Best for | Pinholes mid-trip | Small holes and tears at home |
Repair kits
Check your slide’s box first: RAVE ships a repair kit with its Pontoon Slide, Lakesurf includes one (patches and a valve tool, glue on request) with Slide Island, and FreeStyle lists one with its Cruiser XS. For spares, RAVE sells a Standard Repair Kit at $28.99 (a 1 oz tube of glue and two 4 x 8 in patches) and a DIY Repair Kit at $44.99 (glue and two 12 x 15 in PVC sheets you cut to size). Ask RAVE which kit suits your product; its team is on 1-800-659-0790.
Prices change often. The prices below are what we saw on Amazon and at RAVE in October 2026; check the current price before you buy, and check the patch suits your slide’s material.
Tear-Aid Vinyl Inflatable Repair Kit, Type B
- Peel-and-stick
- For vinyl inflatables
- About $12
Tear-Aid Vinyl Repair Kit, Type B (larger patch)
- 3 x 12 in patch plus two small
- Alcohol prep pads
- About $15
RAVE Sports Standard Repair Kit
- 1 oz glue
- Two 4 x 8 in patches
- $28.99 at RAVE
Valves, seams and when to call the maker
Halkey-Roberts style valves (used on the Airhead Spillway and Slide Island) are built from an inner nut and an outer body, and RAVE has published a video showing how to replace one with a valve wrench. If a valve keeps leaking after you’ve cleared debris and tightened it, ask the maker for the right replacement part rather than forcing it. Paddle North, for example, sells replacement parts and offers support by phone and email.
Leaking seams, long tears and damage on a yacht slide are maker jobs. Contact them before you glue anything: RAVE warns that over-inflation or an air compressor can rupture a tube beyond repair and void the warranty, Lakesurf’s one-year warranty excludes sun damage, mold, mildew and improper care, and FunAir offers a 5-year limited warranty on its yacht slides. FunAir’s FAQ mentions repair kits only for its water park and beach products, not slides, so ask FunAir directly. For custom slides, Request more information and we’ll point you to the maker.
Preventing the next leak
- Don’t over-inflate: RAVE says don’t exceed 2 psi with compressed air; drop-stitch slides stop at 10 psi (Lakesurf, Paddle North). See boat slide pumps and inflation.
- Let a little air out on hot days (RAVE, Lakesurf).
- Carry it; don’t drag it over pavement or rough decks (Lakesurf, Paddle North). Stow it away from sharp edges (RAVE).
- No sharp buckles or zippers on the slide (Lakesurf).
- Clean with mild soap, dry completely and store shaded and rodent-proof; see yacht slide storage and care and our boat slide maintenance tips.
More guides live under boat slides and inflatable boat slides. If the slide is beyond saving, compare replacements in best inflatable boat slides.
Boat slide repair questions
How do I find a leak in an inflatable slide?
Check the valves are fully closed first. Then inflate the slide and spray it with soapy water; bubbles appear where air escapes. RAVE and Lakesurf both describe this test.
How long before I can use a patched slide?
It depends on the method. RAVE’s self-adhesive patch needs one hour under weight before reinflating. Lakesurf’s glued patch needs a full 24 hours before rolling or inflating.
My slide loses a little air overnight. Is that a leak?
Not necessarily. Lakesurf says gradual air loss over long periods is normal, and RAVE notes pressure changes with temperature. Check the valves and do the soapy-water test if it keeps going soft.
Can I repair a leaking seam myself?
The repair steps makers publish are for small holes and tears. For seams, large tears or damage on a yacht slide, contact the maker first, especially if the slide is still under warranty.
Does a repair kit come with the slide?
Often, yes: RAVE’s Pontoon Slide, Lakesurf’s Slide Island and FreeStyle’s Cruiser XS all list one. Lakesurf’s kit ships without glue, which it sends free on request.